How to Make a Viral Music Video
Genolve lets you create music videos with music driven animations that perfectly synchronize movement to music. You make them right from your web browser for free with added features for Premium users. You can make videos perfectly sized for TikTok, Facebook, YouTube or dazzle your web visitors by posting the video in its full SVG glory. Continue on to find out how, or watch the video version (15min) of this blog post.
Step 1) Choose the Music
Step 2) Make a Storyboard
Step 3) Collect/Identify Assets
Step 4) Make the Video
Step 5) Going Viral
Step 1) Choose the Music
If you already have music and are sure of the copyright, go on to the next step. Don't ignore copyrights, if you mess up on TikTok or YouTube they will mute your video, negating all your hard work. As bad as that is, if you mess up on your website, you could face a lawsuit. The rule for TikTok is easy; you can use any music TikTok already offers on their platform. For websites the safest bet it to go with Creative Commons music. A lot of these sites offer paid and free music side-by-side. Just watch for the CC-BY and it is safe to use with attribution but be careful of CC-NC or CC-ND. If not familiar with these notations, here is the explanation.
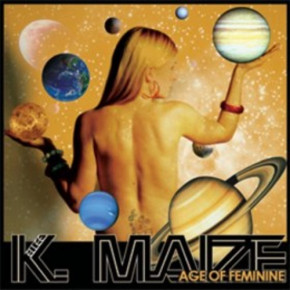
For this example we'll just script the first 15 seconds of:
Raja by Kellee Maize
Step 2) Make a Storyboard
It is tempting to jump right into creating your video but a little planning up front pays big dividends and besides, this is what the professionals do. A storyboard is the script for your video. It is typically hand-drawn sketches for each segment of your video but can also be a simple text-only outline. Watch The Mandalorian and at the end they will show the storyboards used to make each episode. For your first or second video go for something modest. For each successive video you can up your game to more complex animations. Here is a very simple storyboard outlining the music and the video we plan to make:

Step 3) Collect/Identify Assets
You've got some music and a solid idea of what you want to do, it is time to start creating ... after collecting your assets. The assets are the pictures, videos, backgrounds or stickers you plan to use in your video. If you can't find a key asset, with copyright permission to use, you need to redo the storyboard. Genolve has built-in interfaces to quickly find and use copyright-safe images, stickers and videos. You'll find stylish curated media on Pixabay and less stylish but a very diverse collection on Wikimedia. We've collected these assets:
Image, Video and Vector Assets


Step 4) Make the Video
It is time bring your storyboard to life. Load up all your assets to separate layers. In this screenshot you see the layers as the orange buttons with the currently selected layer in blue.
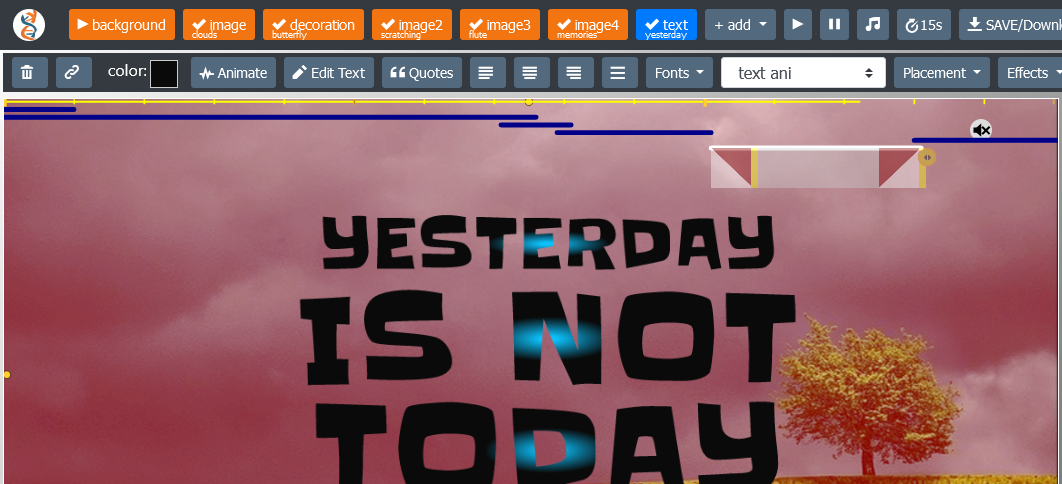
Though we strive to make things intuitive, expect a slight learning curve to master animations. In the above screenshot, each layer has a corresponding animation represented by a dark blue line. Click a line to bring up controls to change the animation (the two red triangles). The various animations are covered in tours and video animation tutorials.
“Most animations that you see on Genolve can be set to sync with the music.”
When syncing animations to the music, the different drive modes are:
- Beat - move the full range of the animation over one beat
- Frequency Bar - key the animation to amount of bass, midrange or treble; can also be applied across group animations
- Waveform - key the animation to the overall volume level
- Beat with flow - the animation slowly moves with speedup on the beat
- Beat against flow - the animation slowly moves with back-step on the beat
Note that the beat detector is not always accurate, we're still perfecting it.
Music Driven Animations Demo
Jump to the exact spot in the music video tutorial where this video was created.
The Finished Video
Finally, when your video is done and you want to share it in a blog post, you can make your Twitter Card with Genolve. To see an example, paste the link to this page in Twitter, you don't need to Tweet, just notice the image that comes up.
Step 5) Going Viral
You should not aim for going viral, you should aim for building a base of loyal followers by consistently putting out quality creative work. This is where you need to channel your inner artist or director. Directing skills trump other artistic skills when making any kind of video. It is also a skill that can be developed through study. Check your local community college or university for courses on film production, directing, editing, photography or animation. You can also take a lot of these courses online.
Think of your favorite music video, do you know who directed it? You can learn a lot by studying some famous directors such as Paul Thomas Anderson, of Licorice Pizza fame, Dave Meyers, the director behind some of the most iconic music videos of the 2000s or Director X, Drake’s Go-To collaborator.
You don't have a budget for renting a sound stage, backup dancers or travel to exotic locations, so you need to learn digital effects and techniques such as green-screen effects. All you have to do is film yourself singing or dancing in front of a uniform green backdrop. Just be careful to not wear green clothes. You can also find animators and videographers who have done this for you.
Green Screen It